매물 템플릿 작성 및 렌더링
# node 모듈에 관련된 라이브러리를 설치하자.
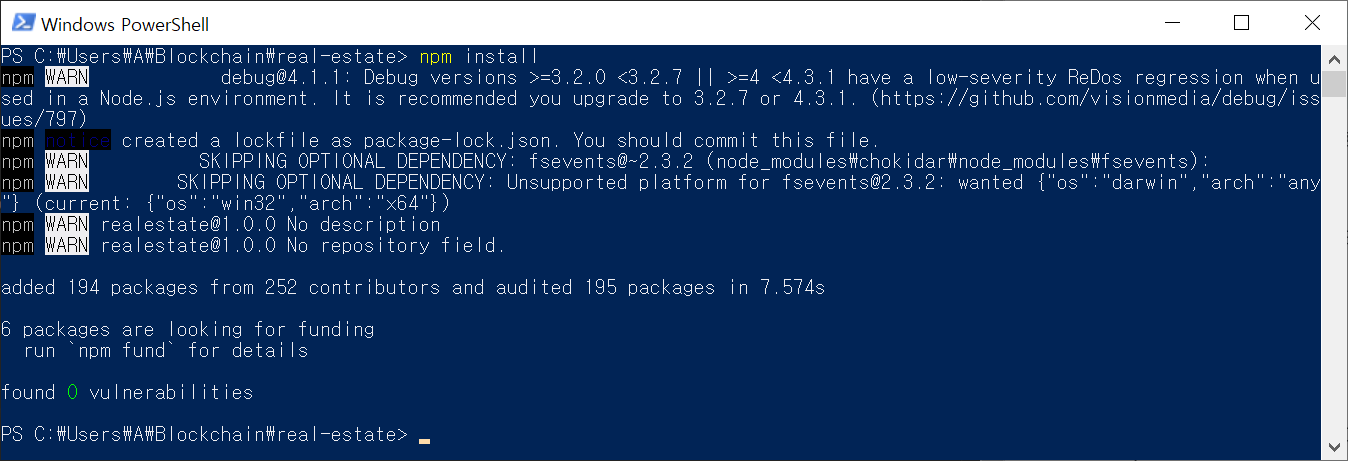
메인 화면의 view를 담당하는 app.js 와 index.html 에 소스 코딩을 해보자.

index.html 33번줄에 추가
<!DOCTYPE html>
<html lang="en">
  <head>
    <meta charset="utf-8">
    <meta http-equiv="X-UA-Compatible" content="IE=edge">
    <meta name="viewport" content="width=device-width, initial-scale=1">
    <!-- The above 3 meta tags *must* come first in the head; any other head content must come *after* these tags -->
    <title>이더리움 부동산</title>

    <!-- Bootstrap -->
    <link href="css/bootstrap.min.css" rel="stylesheet">
    <!-- HTML5 shim and Respond.js for IE8 support of HTML5 elements and media queries -->
    <!-- WARNING: Respond.js doesn't work if you view the page via file:// -->
    <!--[if lt IE 9]>
      <script src="https://oss.maxcdn.com/html5shiv/3.7.3/html5shiv.min.js"></script>
      <script src="https://oss.maxcdn.com/respond/1.4.2/respond.min.js"></script>
    <![endif]-->
  </head>
  <body>
    <div class="container">
      <div class="row">
        <div class="col-xs-12 col-sm-8 col-sm-push-2">
          <h1 class="text-center">이더리움 부동산</h1>
          <hr/>
          <br/>
        </div>
      </div>

      <div class="row" id="list">
        <!-- 매물 리스트 -->
      </div>
    </div>

    <div id="template" style="display: none;">
      <div class="col-sm-6 col-md-4 col-lg-3">
        <div class="panel panel-success panel-realEstate">
          <div class="panel-heading">
            <h3 class="panel-title">매물</h3>
          </div>
          <div class="panel-body">
            <!-- 매물 정보 -->
            <img style="width: 100%;" src="" >
            <br/><br/>
            <strong>아이디</strong>: <span class="id"></span><br/>
            <strong>종류</strong>: <span class="type"></span><br/>
            <strong>면적(m²)</strong>: <span class="area"></span><br/>
            <strong>가격(ETH)</strong>: <span class="price"></span><br/><br/>

            <!-- 매입 버튼 -->
            <button class="btn btn-info btn-buy"
                    type="button"
                    data-toggle="modal"
                    data-target="#buyModal">
                    매입
            </button>

            <!-- 매입 완료하면 매입자 정보 볼 수 있다 -->
            <button class="btn btn-info btn-buyerInfo"
                    type="button"
                    data-toggle="modal"
                    data-target="#buyerInfoModal"
                    style="display: none;"> <!-- 현재는 none으로 해놓아서 안보임 -->
                    매입자 정보
            </button>
          </div>
        </div>
      </div>
    </div>

    <!-- jQuery (necessary for Bootstrap's JavaScript plugins) -->
    <script src="https://ajax.googleapis.com/ajax/libs/jquery/1.12.4/jquery.min.js"></script>
    <!-- Include all compiled plugins (below), or include individual files as needed -->
    <script src="js/bootstrap.min.js"></script>
    <script src="js/web3.min.js"></script>
    <script src="js/truffle-contract.js"></script>
    <script src="js/app.js"></script>
    <script src="js/utf8.js"></script>
  </body>
</html>
app.js
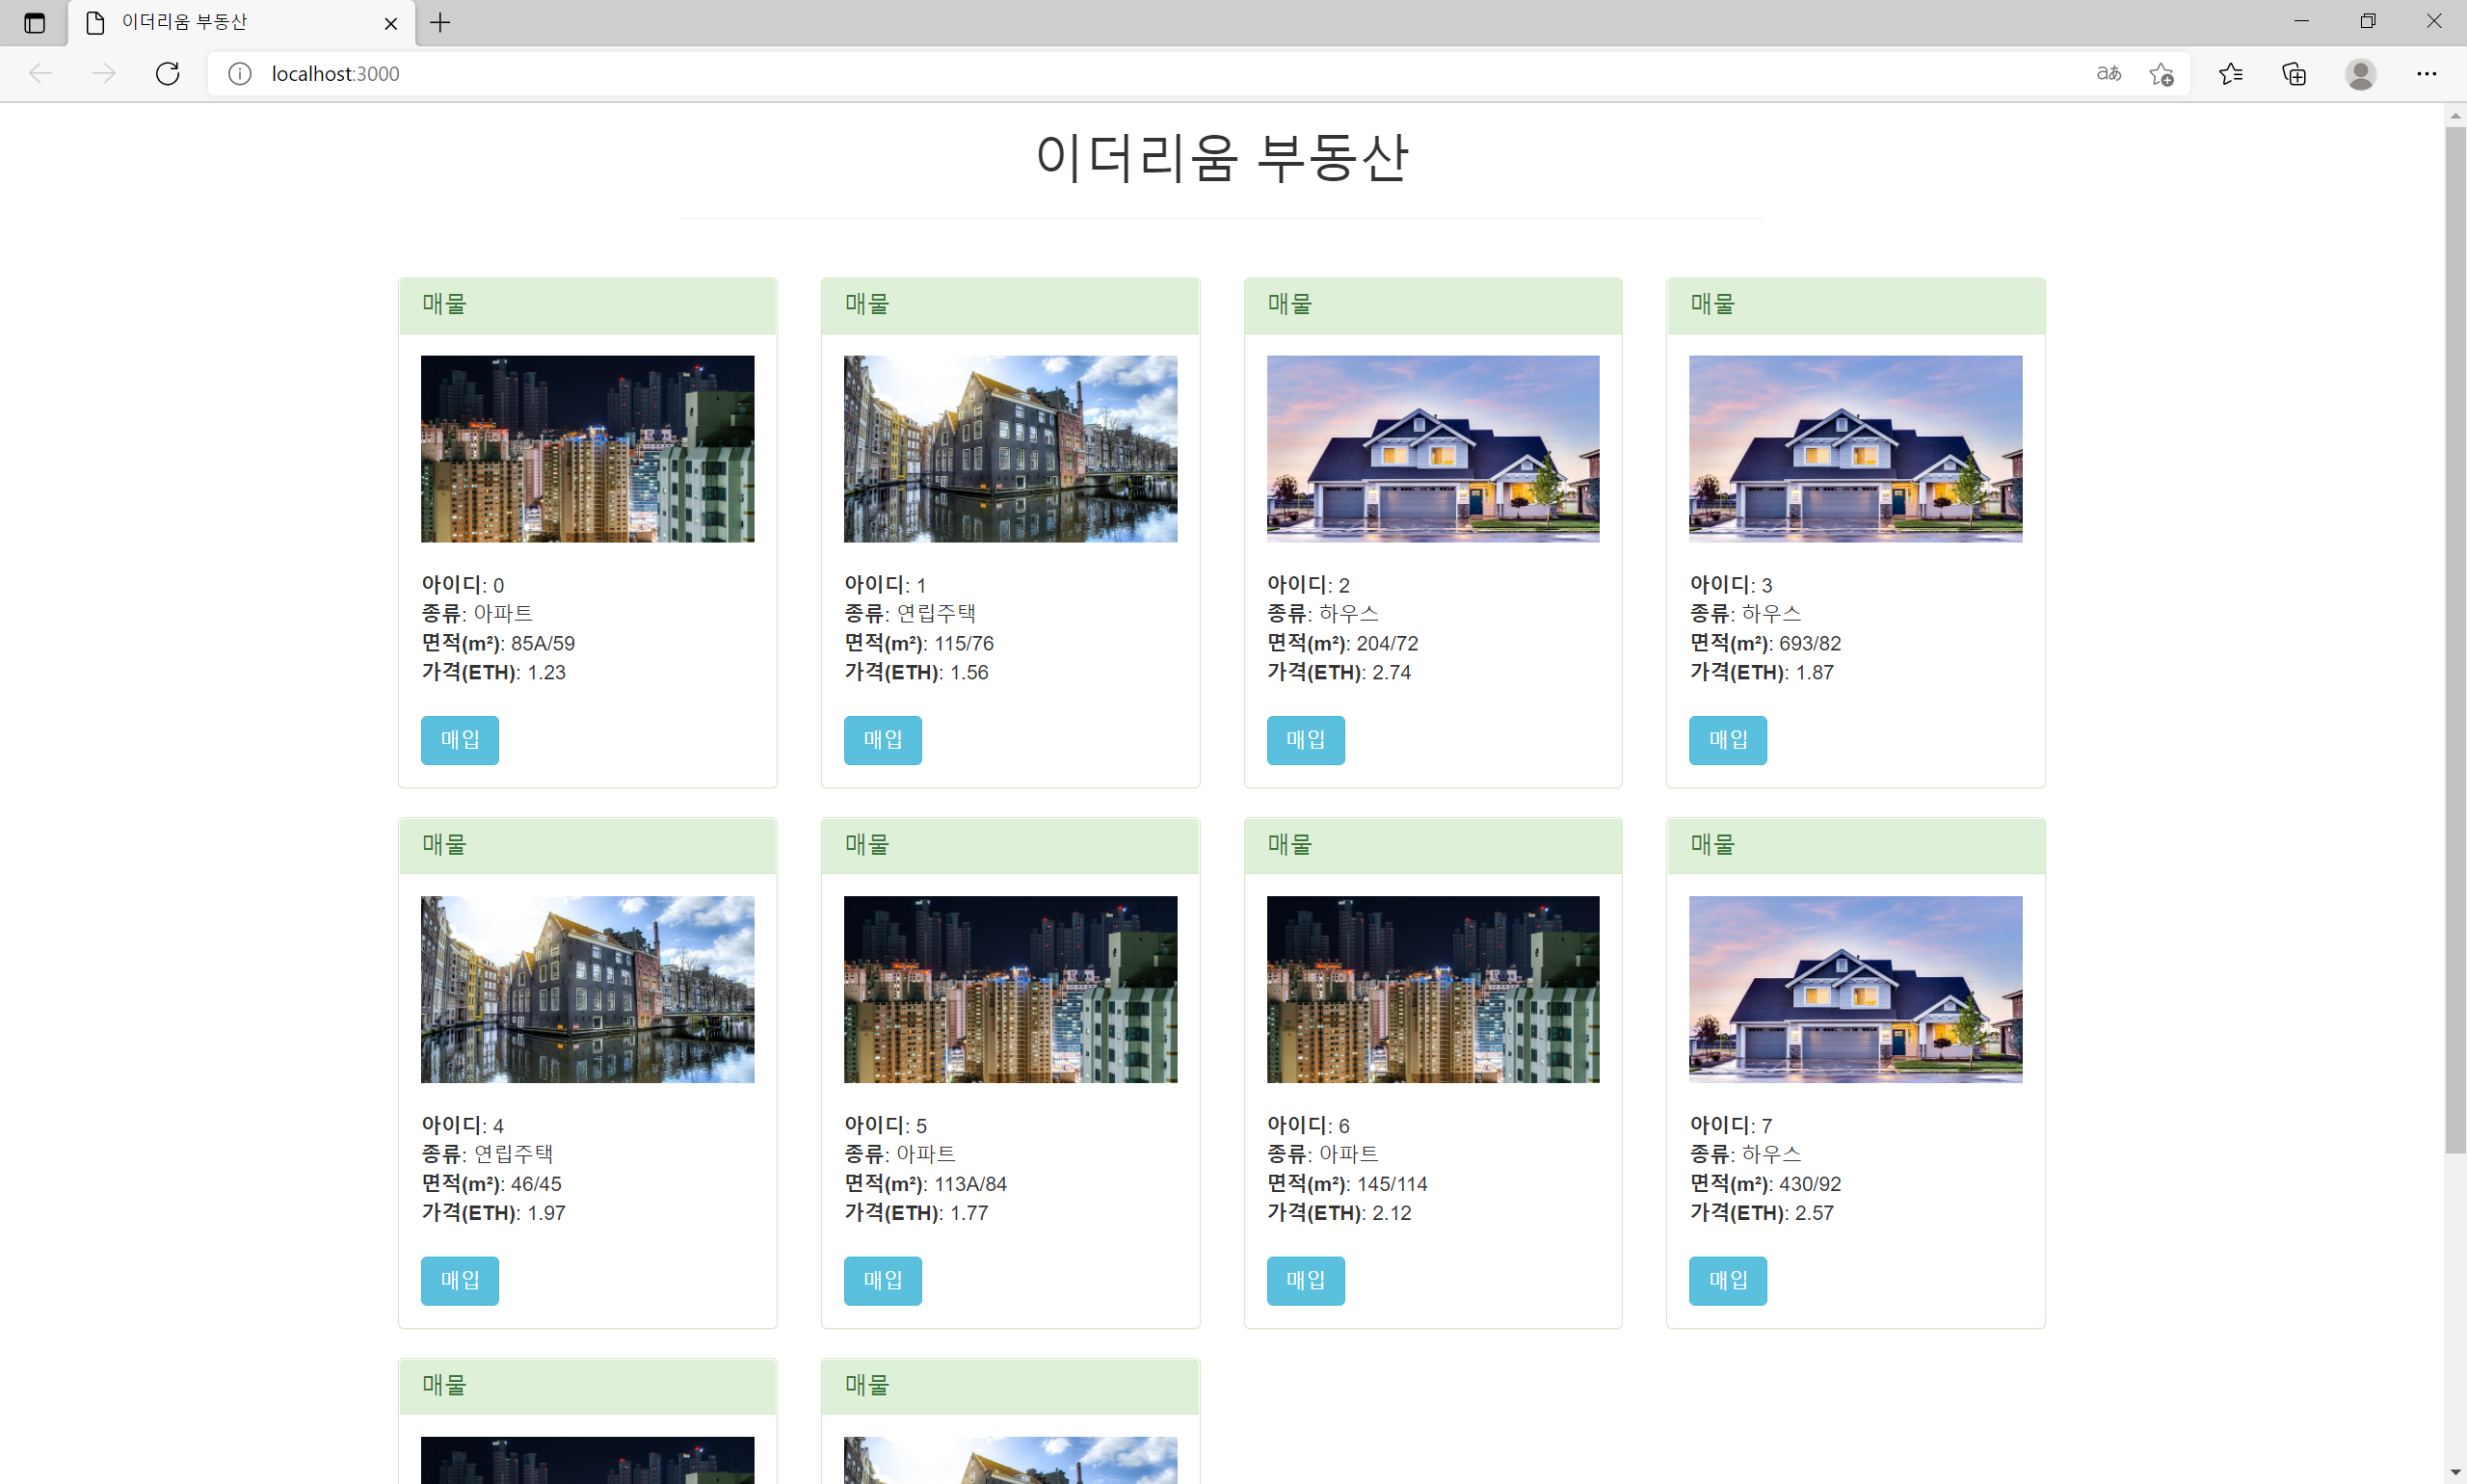
real-estate.json에 있는 정보를 불러와서 index.html 에 각 항목에 맞춰서 보여줄 것이다.
App = {
  web3Provider: null,
  contracts: {},

  // ******이거!
  init: function() { // 데이터 불러오고 html에 매물정보 보이도록 한다.
    $.getJSON('../real-estate.json', function(data) {
      var list = $('#list');
      var template = $('#template');

      for (i = 0; i < data.length; i++) {
        template.find('img').attr('src', data[i].picture); // src 속성에 picture 값을 갖게 한다.
        template.find('.id').text(data[i].id);
        template.find('.type').text(data[i].type);
        template.find('.area').text(data[i].area);
        template.find('.price').text(data[i].price);

        list.append(template.html());
      }
    })
  },

  initWeb3: function() {

  },

  initContract: function() {

  },

  buyRealEstate: function() {

  },

  loadRealEstates: function() {

  },

  listenToEvents: function() {

  }
};

// dapp이 실행되고 페이지가 로드되면 app 안에 init 함수 먼저 실행 ******
$(function() {
  $(window).load(function() {
    App.init();
  });
});
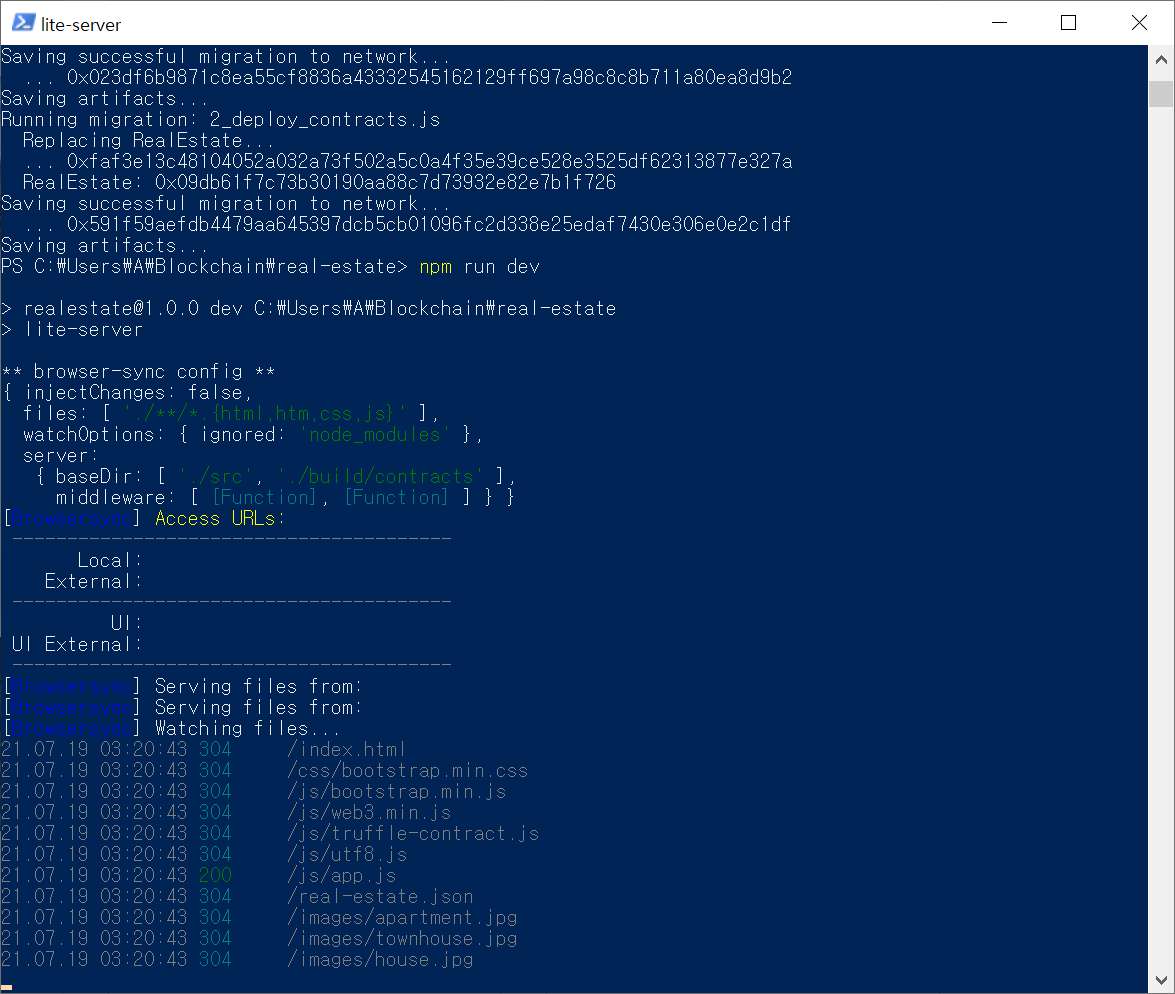
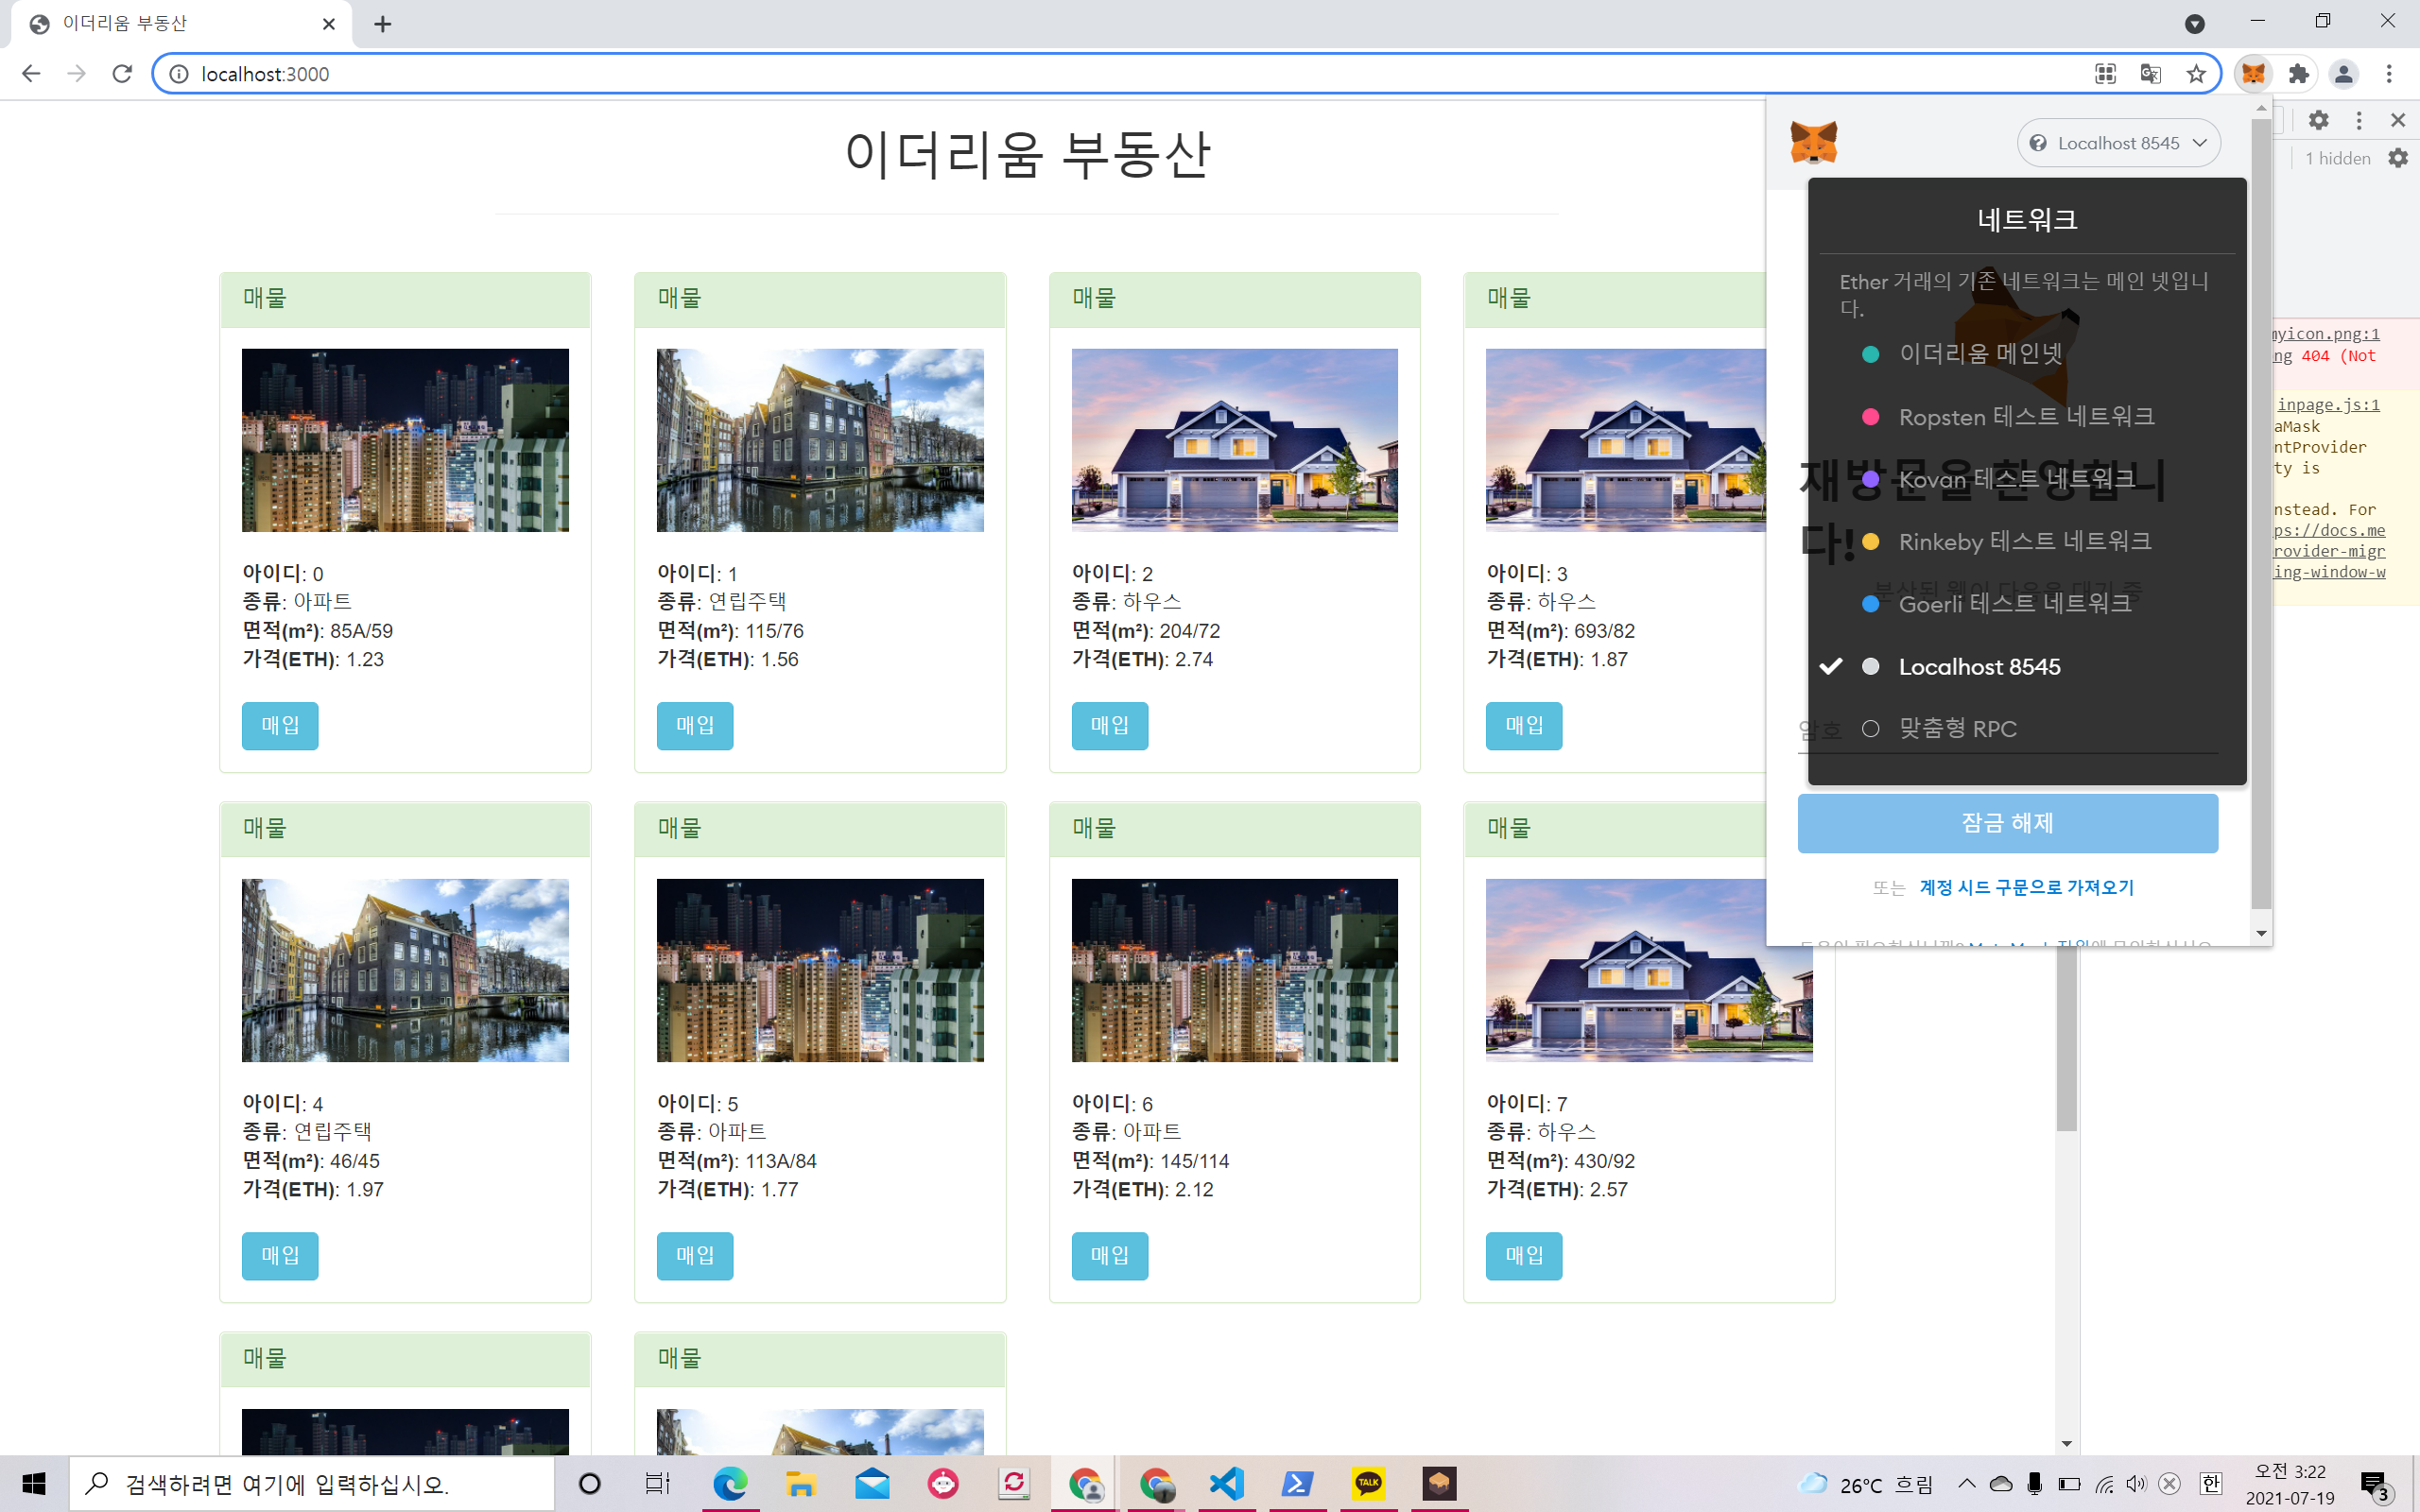
node 라이트서버 통해 실행
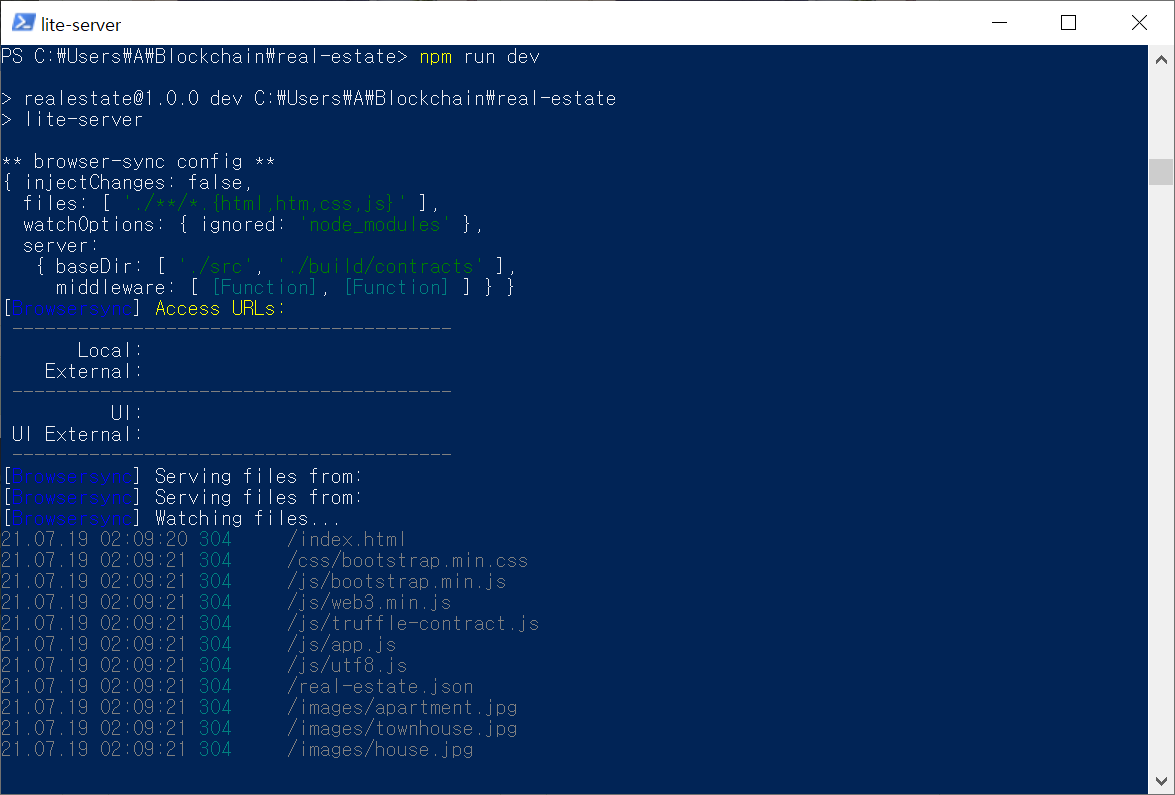
실행 결과
Web3와 contract instance 함수 연결
js 폴더 안에 web3.min.js : 이더리움 블록체인과 소통할 수있게 해주는 라이브러리
App = {
  web3Provider: null,
  contracts: {},

  init: function() { // 데이터 불러오고 html에 매물정보 보이도록 한다.
    $.getJSON('../real-estate.json', function(data) {
      var list = $('#list');
      var template = $('#template');

      for (i = 0; i < data.length; i++) {
        template.find('img').attr('src', data[i].picture); // src 속성에 picture 값을 갖게 한다.
        template.find('.id').text(data[i].id);
        template.find('.type').text(data[i].type);
        template.find('.area').text(data[i].area);
        template.find('.price').text(data[i].price);

        list.append(template.html());
      }
    })
    return App.initWeb3(); // init 역할이 다 끝나면, initWeb3함수를 불러올수 있게 하자.
  },
App = {
web3Provider: null,
contracts: {},
init: function() { // 데이터 불러오고 html에 매물정보 보이도록 한다.
$.getJSON('../real-estate.json', function(data) {
var list = $('#list');
var template = $('#template');
for (i = 0; i < data.length; i++) {
template.find('img').attr('src', data[i].picture); // src 속성에 picture 값을 갖게 한다.
template.find('.id').text(data[i].id);
template.find('.type').text(data[i].type);
template.find('.area').text(data[i].area);
template.find('.price').text(data[i].price);
list.append(template.html());
}
})
return App.initWeb3(); // init 역할이 다 끝나면, initWeb3함수를 불러올수 있게 하자.
},
initWeb3: function() {
if (typeof web3 != 'undefined') {
App.web3Provider = web3.currentProvider;
web3 = new Web3(web3.currentProvider);
} else {
App.web3Provider = new web3.providers.HttpProvider('http://localhost:8545');
web3 = new Web3(App.web3Provider);
}
return App.initContract();
}, initWeb3: function() {
if (typeof web3 != 'undefined') {
App.web3Provider = web3.currentProvider;
web3 = new Web3(web3.currentProvider);
} else {
App.web3Provider = new web3.providers.HttpProvider('http://localhost:8545');
web3 = new Web3(App.web3Provider);
}
return App.initContract();
},
initContract: function() {
$.getJSON('RealEstate.json', function(data) {
App.contracts.RealEstate = TruffleContract(data);
App.contracts.RealEstate.setProvider(App.web3Provider);
})
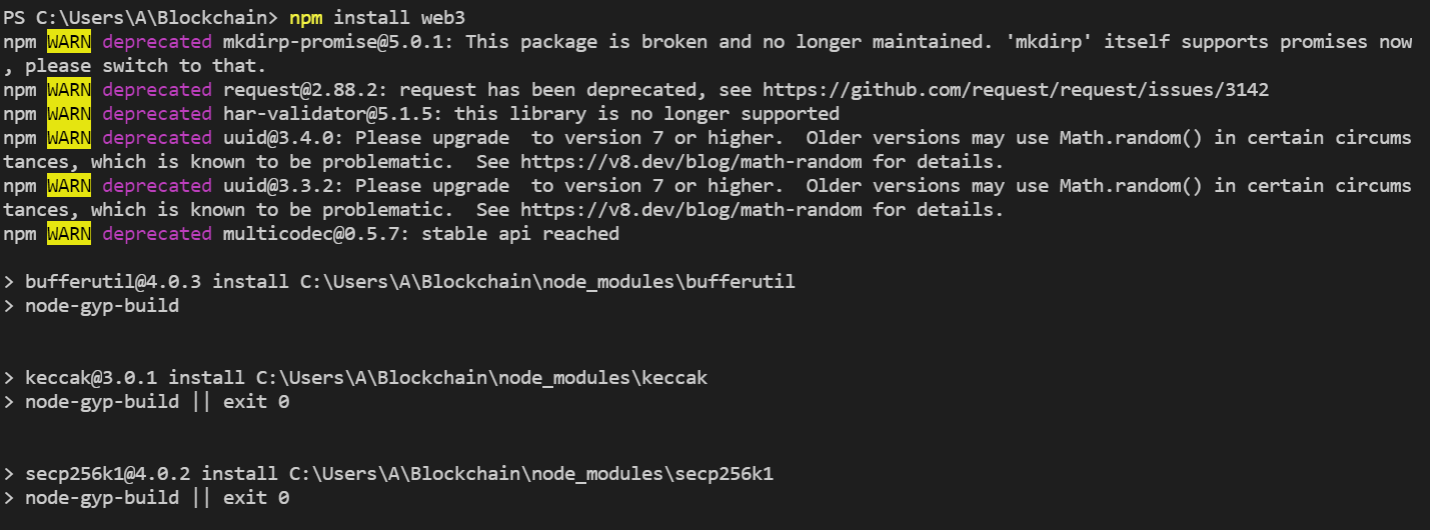
}, App.web3Provider = new web3.providers.HttpProvider('http://localhost:8545'); 부분에서 web3 오류 발생
app.js:28 Uncaught ReferenceError: web3 is not defined
at Object.initWeb3 (app.js:28)
at Object.init (app.js:20)
at app.js:57
at dispatch (jquery.min.js:3)
at r.handle (jquery.min.js:3)
해결법 : In order to use web3 in you project,follow the steps;
- Install web3 using any package manager like npm or bower:
# npm install web3 or # bower install web3 - Import the web3 liberary in js where you want to use it by using:
- Web3 = require('web3')
You can find details here npm-web3.

매입자 정보 모달 및 데이터 전달
index.html
<!-- 모달 -->
<div class="modal fade" tabindex="-1" role="dialog" id="buyModal"> <!-- target*******-->
<div class="modal-dialog">
<div class="modal-content">
<div class="modal-header">
<button type="button" class="close" data-dismiss="modal" aria-label="Close"><span aria-hidden="true">×</span></button>
<h4 class="modal-title">매입자 정보</h4>
</div>
<div class="modal-body">
<input type="hidden" id="id" />
<input type="hidden" id="price" />
<input type="text" class="form-control" id="name" placeholder="이름" /> <br/>
<input type="number" class="form-control" id="age" placeholder="나이" /> <br/>
</div>
<div class="modal-footer">
<button type="button" class="btn btn-default" data-dismiss="modal">닫기</button>
<button type="button" class="btn btn-primary" onClick="App.buyRealEstate(); return false;">제출</button>
</div>
</div><!-- /.modal-content -->
</div><!-- /.modal-dialog -->
</div><!-- /.modal -->app.js
// dapp이 실행되고 페이지가 로드되면 app 안에 init 함수 먼저 실행 ******
$(function() {
  $(window).load(function() {
    App.init();
  });

  // 모달이 띄워져 있으면 부트스트랩 모달에 데이터 전달
  $('#buyModal').on('show.bs.modal', function(e) {
    var id = $(e.relatedTarget).parent().find('.id').text();
    var price = web3.toWei(parseFloat($(e.relatedTarget).parent().find('.price').text() || 0), "ether");

    $(e.currentTarget).find('#id').val(id);
    $(e.currentTarget).find('#price').val(price);
  })
});
컨트랙트 매물 구입 함수 연결
buyRealEstate: function() {
    var id = $('#id').val();
    var name = $('#name').val();
    var price = $('#price').val();
    var age = $('#age').val();

    console.log(id);
    console.log(name);
    console.log(price);
    console.log(age);


    web3.eth.getAccounts(function(error, accounts) {
      if (error) {
        console.log(error);
      }
      var account = accounts[0];
      App.contracts.RealEstate.deployed().then(function(instance) {
        var nameUtf8Encoded = utf8.encode(name);
        return instance.buyRealEstate(id, web3.toHex(nameUtf8Encoded), age, { from: account, value: price });
      }).then(function() {
        $('#name').val('');
        $('#age').val('');
        $('#buyModal').modal('hide');
      }).catch(function(err) {
        console.log(err.message);
      });
    });
  },
가나쉬에 컨트랙트 재배포
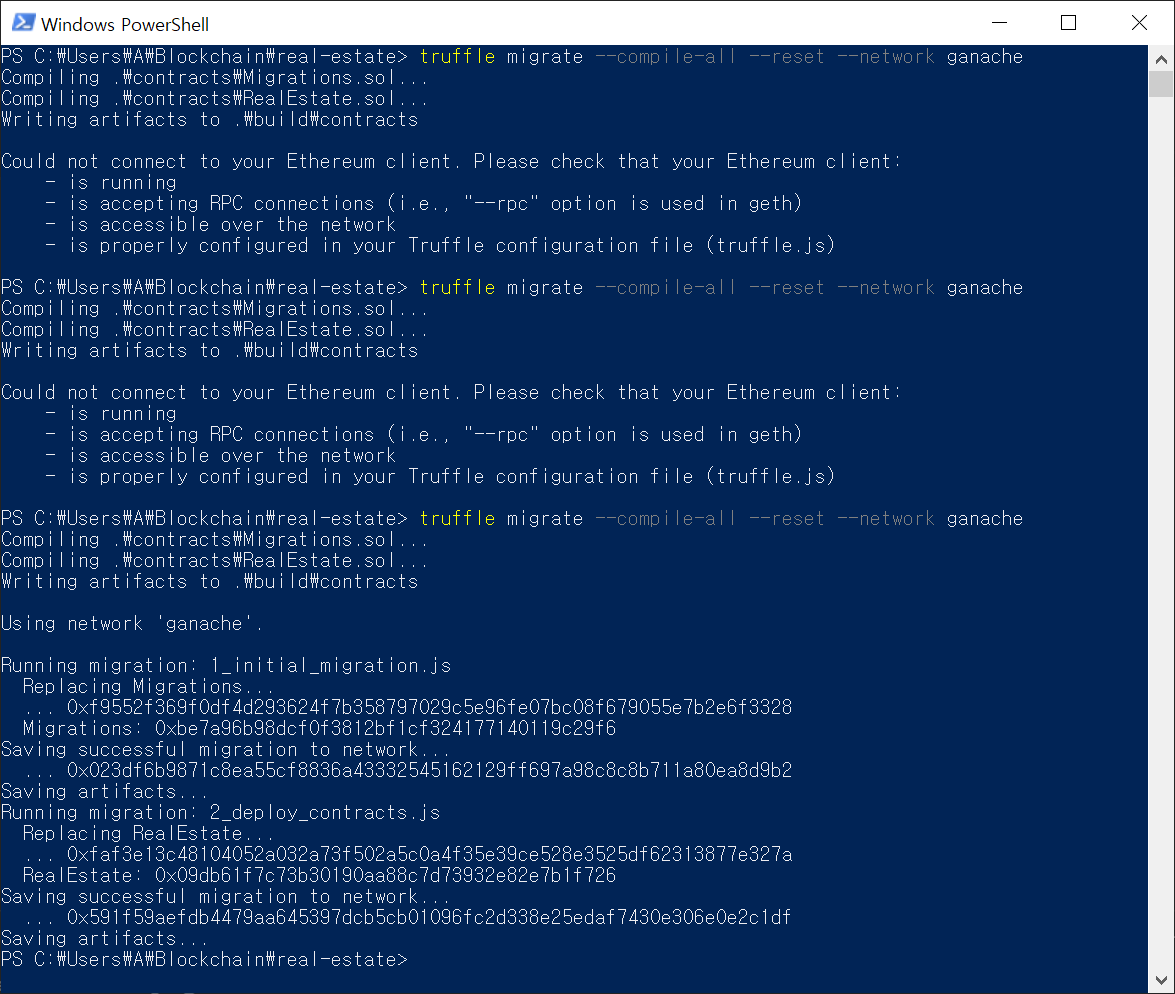
npm run dev 실행
매입 후 UI 업데이트
App.js
  loadRealEstates: function() {
    App.contracts.RealEstate.deployed().then(function(instance) {
      return instance.getAllBuyers.call();
    }).then(function(buyers) {
      for (i =0 ;i<buyers.length;i++) {
        if (buyers[i] !== '0x0000000000000000000000000000000000000000'){
          var imgType = $('.panel-realEstate').eq(i).find('img').attr('src').substr(7);

          switch(imgType) {
            case 'apartment.img' :
              $('.panel-realEstate').eq(i).find('img').attr('src','images/apartment_sold.jpg');
              break;
            case 'townhouse.img' :
              $('.panel-realEstate').eq(i).find('img').attr('src','images/townhouse_sold.jpg');
              break;
            case 'house.img' :
              $('.panel-realEstate').eq(i).find('img').attr('src','images/house_sold.jpg');
              break;
          }
          $('.panel-realEstate').eq(i).find('.btn-buy').text('매각').attr('disabled',true);
        }
      }
    }).catch(function(err) {
      console.log(err.message);
    })
  },
index.hml
<!-- 매입자 정보 모달 -->
<div class="modal fade" tabindex="-1" role="dialog" id="buyerInfoModal"> <!-- target*******-->
<div class="modal-dialog">
<div class="modal-content">
<div class="modal-header">
<button type="button" class="close" data-dismiss="modal" aria-label="Close"><span aria-hidden="true">×</span></button>
<h4 class="modal-title">매입자 정보</h4>
</div>
<div class="modal-body">
<strong>계정주소</strong>: <span id="buyerAddress"></span> <br />
<strong>이름</strong>: <span id="buyerName"></span> <br />
<strong>나이</strong>: <span id="buyerAge"></span> <br />
</div>
<div class="modal-footer">
<button type="button" class="btn btn-default" data-dismiss="modal">닫기</button>
<button type="button" class="btn btn-primary" onClick="App.buyRealEstate(); return false;">제출</button>
</div>
</div><!-- /.modal-content -->
</div><!-- /.modal-dialog -->
</div><!-- /.modal -->
오류 : 제출 버튼을 클릭해도 Metamask 승인창이 나타나지 않는 문제
해결 : 아래 부분을 ethereum.enable().then(function (accounts) { 로 수정
web3.eth.getAccounts(function(error, accounts) {
if (error) {
console.log(error);
}
Metamask v7.0.1 문서 링크입니다.
https://metamask.github.io/metamask-docs/API_Reference/Ethereum_Provider
< 결과 화면 >

응용해보기
Json 파일에 사용자가 직접 부동산 정보를 기록해서 index.html view 화면에 띄워보자.
https://stackoverflow.com/questions/28661281/add-object-to-json-file-node-js
Add object to json file - Node.js
I'm trying to add an object to a very large JSON file in Node.js (but only if the id doesn't match an existing object). What I have so far: example JSON file: [ { id:123, text: "some te...
stackoverflow.com
'신기술분석 > 블록체인' 카테고리의 다른 글
| 이더리움 스마트 컨트랙트 이해 (0) | 2021.07.19 |
|---|---|
| hedera Platform 테스트넷 매뉴얼 및 모니터링 (0) | 2021.07.19 |
| 블록체인 Dapp 만들기 #9 (1) | 2021.07.15 |
| 블록체인 Dapp 만들기 #8 (0) | 2021.07.15 |
| 블록체인 Dapp 만들기 #7 (0) | 2021.07.15 |


댓글