# 강의 제목 : 누적다운로드 120만+ 1인 개발자와 함께하는 앱 개발 입문 Online
# 강의 목표 : 기초부터 운영까지 앱 개발의 전체 프로세스를 이해한다.
내 이름으로 된 앱을 최대 10개까지 만들어 출시할 수 있다.
앱 개발자로 성장할 수 있는 초석을 다진다.
반응 얻는 앱의 특징과 노하우를 알아간다.
향후 강의 없이도 나만의 앱을 개발할수 있는 실력을 가진다.
# 강의 요약 : 프로그램 설치부터 기본 문법, 광고 다는 법, 클론코딩을 진행하며 필수 지식을 학습한다.
총 10개의 다른 주제로 실제 사용화 가능한 수준의 앱을 만들어본다.
나의 앱을 세상에 선보이기 위한 개발자 등록 및 배포를 진행한다.
강사님의 리뷰/클레임 대응사례 등 앱 성공 포인트를 참고해 1인 개발자로서의 입지를 다진다.
# 강의 목차 : Flutter 실전 앱 제작
- 앱 기능 및 디자인 설계 및 초기 구조 만들기 (미세먼지앱) - 19일차
- API 사용 및 데이터 저장 (모델 객체 저장) - 20일차
- 미세먼지 화면 만들기 1 (전체 레이아웃 작성) - 21일차
- 미세먼지 화면 만들기 2 (아이템 레이아웃 작성 및 데이터 UI 맵핑) - 22일차
- 광고 추가 및 사용자 리뷰 요청 - 22일차
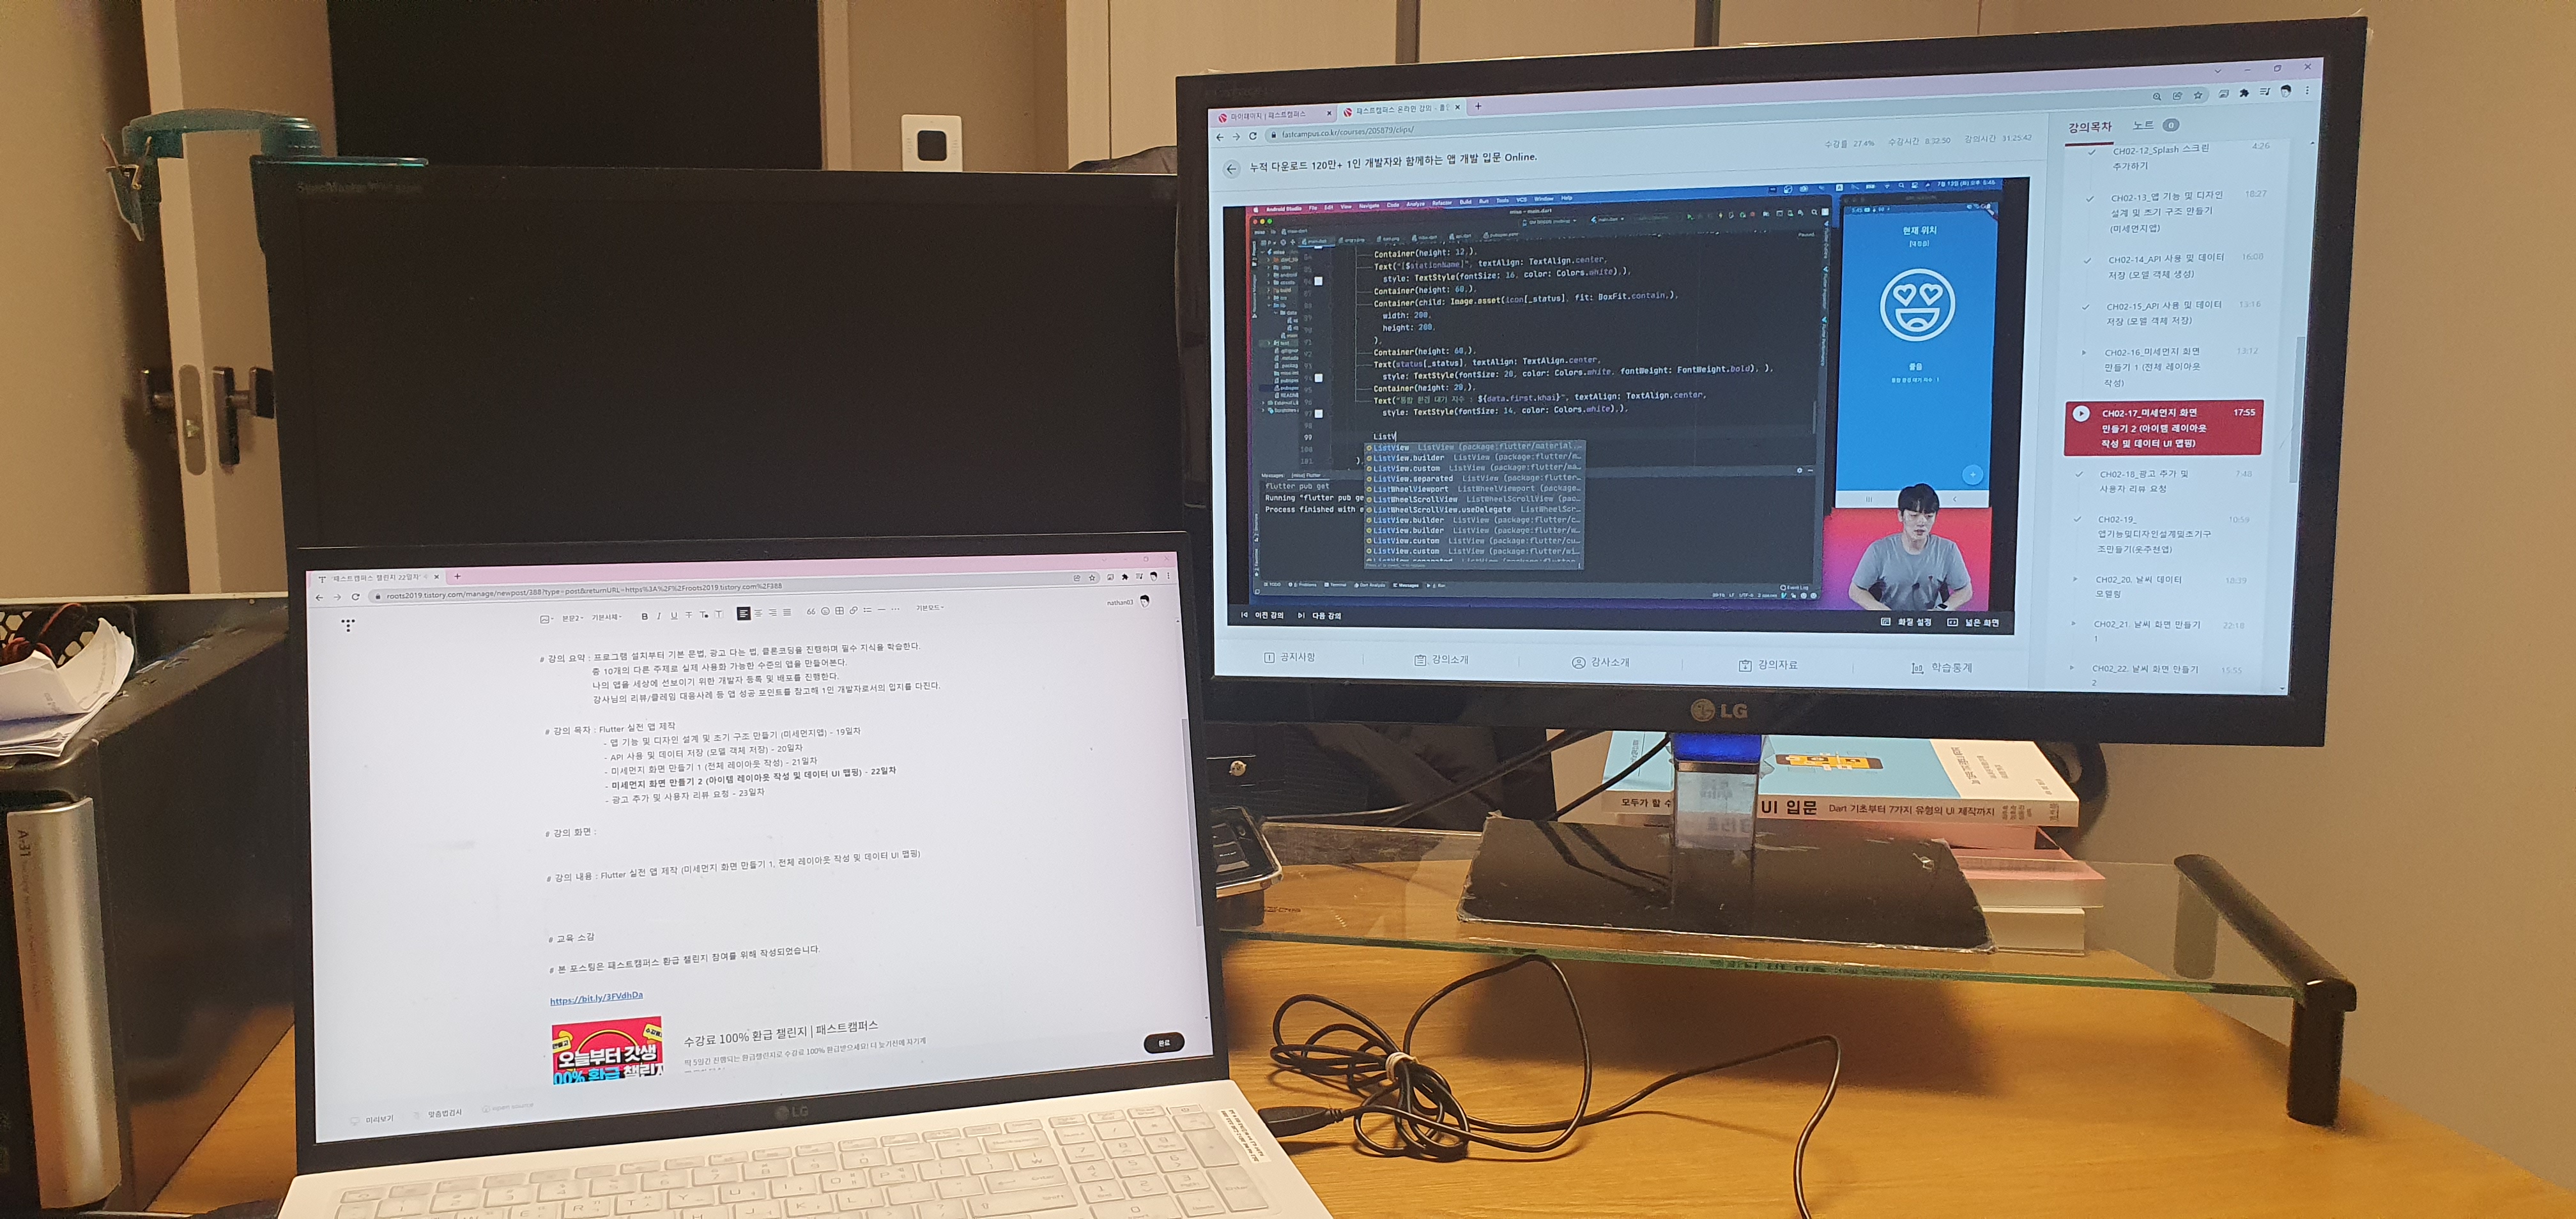
# 강의 화면 :
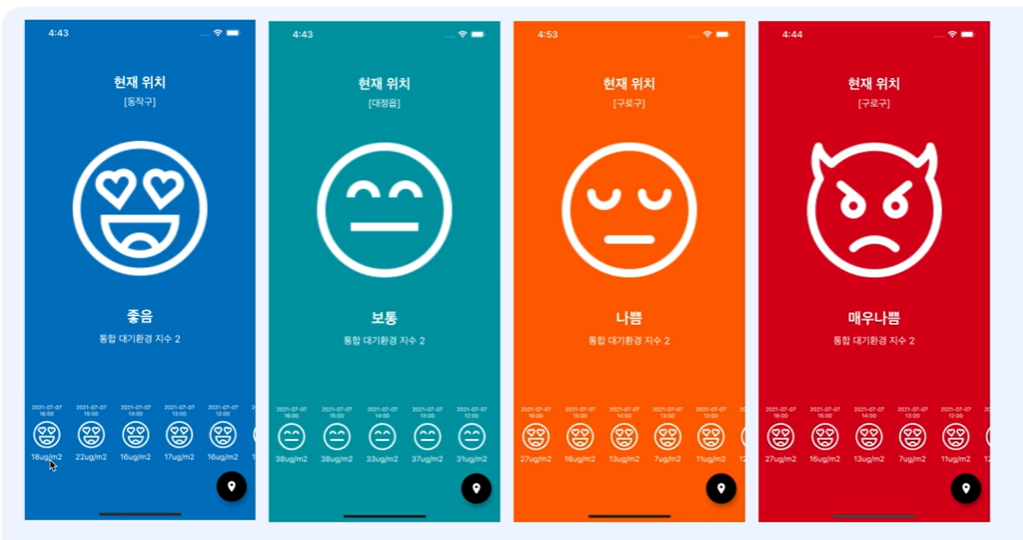
# 강의 내용 : Flutter 실전 앱 제작 (미세먼지 화면 만들기 1, 전체 레이아웃 작성 및 데이터 UI 맵핑)
1. 기본 UI 작성 (시간별로 위치별로 나타날수 있는 UI)
# main.dart
아이콘 전체를 밑으로 조절하기 위해서 Expanded 함수를 컬럼 안에서 사용하기 위해 컨테이너 밖으로 감싼다.
return Container(
                margin: EdgeInsets.symmetric(vertical: 12, horizontal: 12),
                child: Column(
                  crossAxisAlignment: CrossAxisAlignment.center,
                  mainAxisAlignment: MainAxisAlignment.end,
                  children: [
                    Text(mise.dataTime.replaceAll(" ", "\n"), style: TextStyle(color: Colors.white,
                        fontSize: 10),
                      textAlign: TextAlign.center,
                    ),
                    Container(height: 8),
                    Container(child: Image.asset(icon[_status], fit: BoxFit.contain,),
                      height: 40, width: 40,
                    ),
                    Container(height: 8),
                    Text("${mise.pm10}ug/m2", style: TextStyle(color: Colors.white,
                        fontSize: 10),)
                  ],
                ),
              );
            }),
          ))),
      AdmobBanner(
        adUnitId: AdmobBanner.testAdUnitId,
        adSize: AdmobBannerSize.BANNER,
      ),
      Container(height: 30)
    ],
  ),
);
2. 로케이션을 변경하는 페이지 작성
# main.dart
class LocationPage extends StatefulWidget {
  @override
  State<StatefulWidget> createState() {
    return _LocationPageState();
  }
}

class _LocationPageState extends State<LocationPage> {
  List<String> locations = [
    "구로구",
    "동작구",
    "마포구",
    "강남구",
    "강동구",
  ];

  @override
  Widget build(BuildContext context) {
    return Scaffold(
      appBar: AppBar(),
      body: ListView(
        children: List.generate(locations.length, (idx){
          return ListTile(
            title: Text(locations[idx]),
            trailing: Icon(Icons.arrow_forward),
            onTap: (){
              Navigator.of(context).pop(locations[idx]);
            },
          );
        }),
      ),
    );
  }
}
3. 전체적인 테마색 변경
# main.dart
  // This widget is the root of your application.
  @override
  Widget build(BuildContext context) {
    return MaterialApp(
      title: 'Flutter Demo',
      theme: ThemeData(
        primarySwatch: Colors.blue,
      ),
      home: MyHomePage(),
    );
  }
}
4. 장소별 미세먼지 정보 가져오기
# main.dart
@override
Widget build(BuildContext context) {
  return Scaffold(
    appBar: AppBar(
      title: Text(""),
    ),
    body: Center(
      child: Column(
        mainAxisAlignment: MainAxisAlignment.center,
        children: <Widget>[
        ],
      ),
    ),
    floatingActionButton: FloatingActionButton(
      onPressed: () async{
        MiseApi api = MiseApi();
        List<Mise> data = await api.getMiseData("구로구");
        data.removeWhere((m) => m.pm10 == 0);
        for(final d in data){
          print("${d.dataTime} ${d.pm10}");
        }
      },
      tooltip: 'Increment',
      child: const Icon(Icons.add),
    ), // This trailing comma makes auto-formatting nicer for build methods.
  );
}
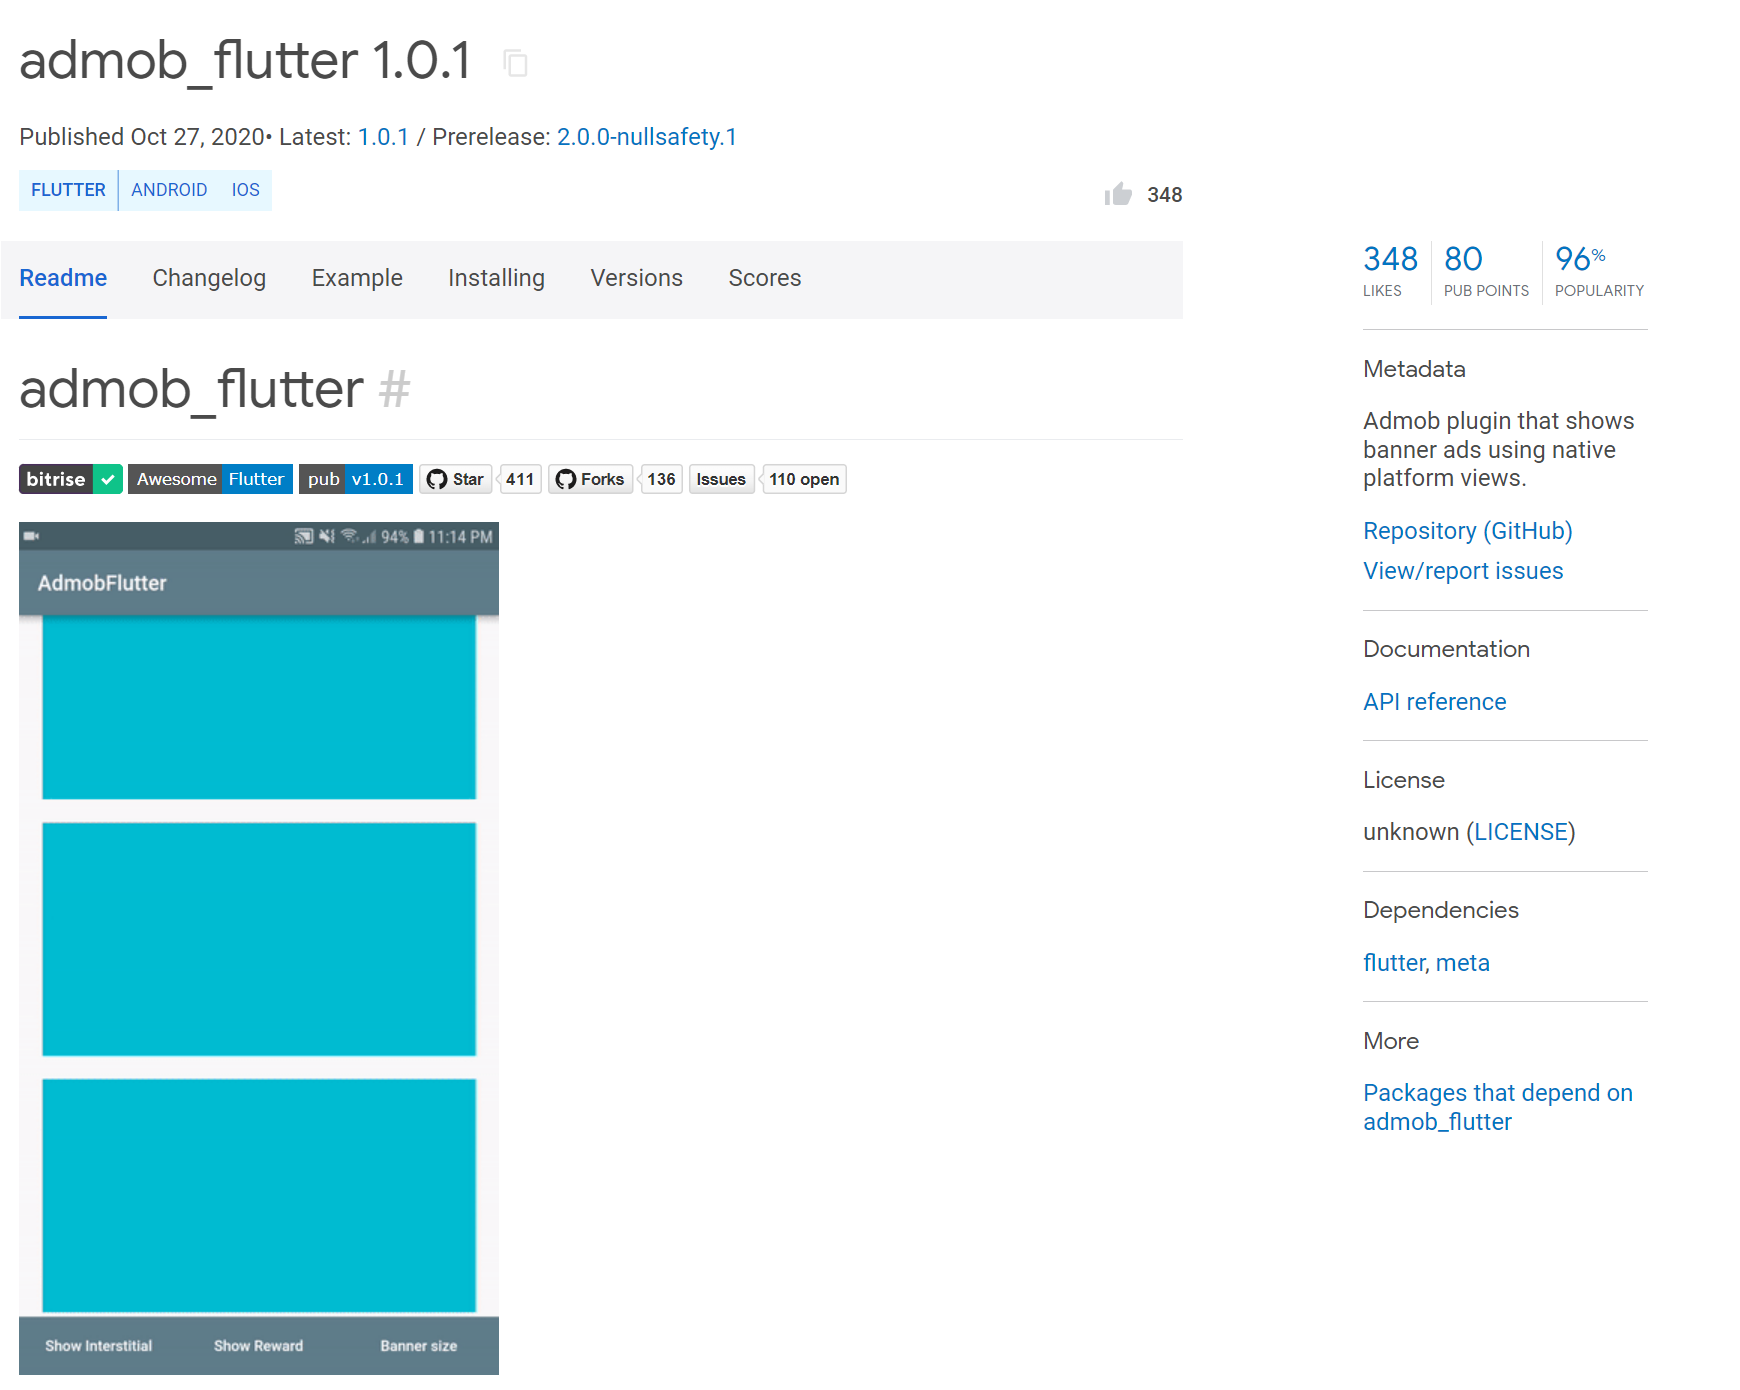
5. admob_flutter1.01 사용하기
Dart packages
Pub is the package manager for the Dart programming language, containing reusable libraries & packages for Flutter, AngularDart, and general Dart programs.
pub.dev
- admob_flutter 검색
6. admob_flutter: ^1.0.1 를 복사하기
7. pubspec.yaml 에 추가하기
# pubspec.yaml
dependencies:
  flutter:
    sdk: flutter


  # The following adds the Cupertino Icons font to your application.
  # Use with the CupertinoIcons class for iOS style icons.
  cupertino_icons: ^1.0.2

  http: ^0.12.2
  admob_flutter: ^1.0.1
The plugin `admob_flutter` uses a deprecated version of the Android embedding.
To avoid unexpected runtime failures, or future build failures, try to see if this plugin supports the Android V2 embedding. Otherwise, consider removing it since a future release of Flutter will remove these deprecated APIs.
If you are plugin author, take a look at the docs for migrating the plugin to the V2 embedding: https://flutter.dev/go/android-plugin-migration.
Process finished with exit code 0
It's for latest flutter updates. so you can't do anything. Please use other package or wait till fix the problem by package developer because this error is produced after flutter version 2.5.
8. admob (구글 애드몹)
https://admob.google.com/intl/ko/home/
Google AdMob: 모바일 앱 수익 창출
인앱 광고를 사용하여 모바일 앱에서 더 많은 수익을 창출하고, 사용이 간편한 도구를 통해 유용한 분석 정보를 얻고 앱을 성장시켜 보세요.
admob.google.com
가. 회원 가입 후 새앱 설정
- 플랫폼 Android
- 앱 이름 미세먼지
앱추가
나. 광고 단위 만들기 (메인 화면 배너)
<meta-data
android:name="com.google.android.gms.ads.APPLICATION_ID"
android:value="ca-app-pub-7552170233373075~3522165319"/>
# AndroidManifest.xml
<manifest xmlns:android="http://schemas.android.com/apk/res/android"
    package="com.example.mise">
    <!-- io.flutter.app.FlutterApplication is an android.app.Application that
         calls FlutterMain.startInitialization(this); in its onCreate method.
         In most cases you can leave this as-is, but you if you want to provide
         additional functionality it is fine to subclass or reimplement
         FlutterApplication and put your custom class here. -->
    <application
        android:name="io.flutter.app.FlutterApplication"
        android:label="mise"
        android:icon="@mipmap/ic_launcher">
        <activity
            android:name=".MainActivity"
            android:launchMode="singleTop"
            android:theme="@style/LaunchTheme"
            android:configChanges="orientation|keyboardHidden|keyboard|screenSize|smallestScreenSize|locale|layoutDirection|fontScale|screenLayout|density|uiMode"
            android:hardwareAccelerated="true"
            android:windowSoftInputMode="adjustResize">
            <!-- Specifies an Android theme to apply to this Activity as soon as
                 the Android process has started. This theme is visible to the user
                 while the Flutter UI initializes. After that, this theme continues
                 to determine the Window background behind the Flutter UI. -->
            <meta-data
              android:name="io.flutter.embedding.android.NormalTheme"
              android:resource="@style/NormalTheme"
              />
            <!-- Displays an Android View that continues showing the launch screen
                 Drawable until Flutter paints its first frame, then this splash
                 screen fades out. A splash screen is useful to avoid any visual
                 gap between the end of Android's launch screen and the painting of
                 Flutter's first frame. -->
            <meta-data
              android:name="io.flutter.embedding.android.SplashScreenDrawable"
              android:resource="@drawable/launch_background"
              />
            <intent-filter>
                <action android:name="android.intent.action.MAIN"/>
                <category android:name="android.intent.category.LAUNCHER"/>
            </intent-filter>
        </activity>
        <!-- Don't delete the meta-data below.
             This is used by the Flutter tool to generate GeneratedPluginRegistrant.java -->
        <meta-data
            android:name="flutterEmbedding"
            android:value="2" />
        <meta-data
            android:name="com.google.android.gms.ads.APPLICATION_ID"
            android:value="ca-app-pub-7552170233373075~3522165319"/>
    </application>
</manifest>
# main.dart
import 'package:admob_flutter/admob_flutter.dart';
import 'package:flutter/material.dart';
import 'package:in_app_review/in_app_review.dart';
import 'package:mise/data/api.dart';
import 'package:mise/data/mise.dart';

void main() {
  WidgetsFlutterBinding.ensureInitialized();
  // Initialize without device test ids.
  Admob.initialize();
  runApp(MyApp());
}
App 메인에 광고 붙이기
AdmobBanner(
  adUnitId: AdmobBanner.testAdUnitId,
  adSize: AdmobBannerSize.BANNER,
),
Container(height: 30)
9. in_app_review
- 사용자에게 앱의 리뷰를 남기는 기능
https://pub.dev/packages/in_app_review
in_app_review | Flutter Package
Flutter plugin for showing the In-App Review/System Rating pop up on Android, IOS and MacOS. It makes it easy for users to rate your app.
pub.dev
# pubspec.yaml
  # The following adds the Cupertino Icons font to your application.
  # Use with the CupertinoIcons class for iOS style icons.
  cupertino_icons: ^1.0.0

  http: ^0.12.2
  admob_flutter: ^1.0.1
  in_app_review: ^1.0.4
# main.dart
@override
  Widget build(BuildContext context) {
    return Scaffold(
      body: getPage(),
      floatingActionButton: FloatingActionButton(
        onPressed: () async {
          String l = await Navigator.of(context).push(
              MaterialPageRoute(builder: (ctx) => LocationPage()));
          if(l != null){
            stationName = l;
            getMiseData();
          }

          InAppReview.instance.requestReview();

        },
        tooltip: 'Increment',
        child: Icon(Icons.location_on),
      ), // This trailing comma makes auto-formatting nicer for build methods.
    );
  }
# 교육 소감
# 본 포스팅은 패스트캠퍼스 환급 챌린지 참여를 위해 작성되었습니다.
수강료 100% 환급 챌린지 | 패스트캠퍼스
딱 5일간 진행되는 환급챌린지로 수강료 100% 환급받으세요! 더 늦기전에 자기계발 막차 탑승!
fastcampus.co.kr
'코딩 알로하 :: two > 하이브리드앱' 카테고리의 다른 글
| 패스트캠퍼스 챌린지 24일차 (0) | 2021.11.24 |
|---|---|
| 패스트캠퍼스 챌린지 23일차 (0) | 2021.11.23 |
| 패스트캠퍼스 챌린지 21일차 (0) | 2021.11.21 |
| 패스트캠퍼스 챌린지 20일차 (0) | 2021.11.20 |
| 패스트캠퍼스 챌린지 19일차 (0) | 2021.11.19 |


댓글